We build exceptional products with the latest technologies and frameworks. We are a team of passionate developers and designers that love to build amazing products.
LuckyGene Indie Studio is an independent creative powerhouse founded in 2019. We're a passionate collective dedicated to pushing the boundaries of digital entertainment and innovation across multiple mediums.
Our expertise spans immersive game development, cutting-edge web applications, blockchain technology exploration, and compelling motion picture production. We create unique, impactful projects that resonate globally.
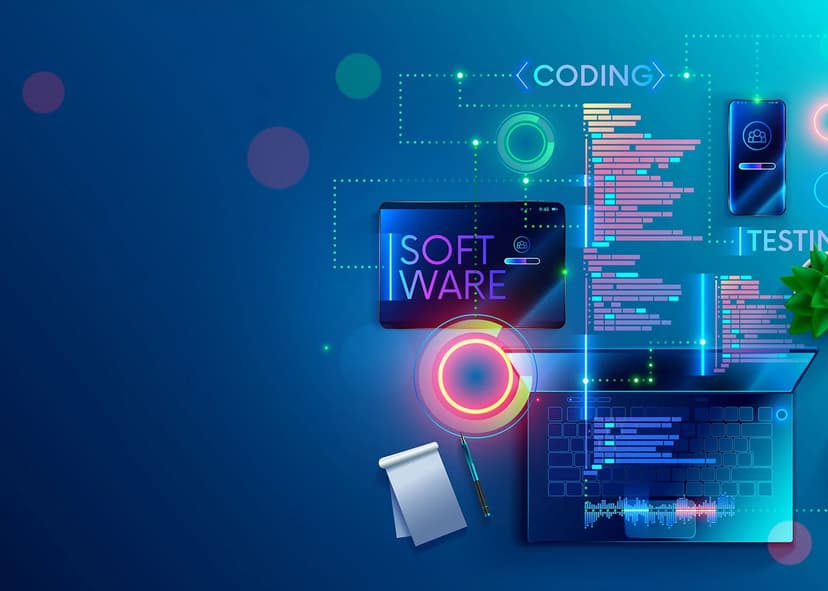
We build for tomorrow, not just today. Our development process leverages exclusively modern, industry-leading technologies with the latest stable frameworks and platforms.
This commitment ensures maximum security, performance, and scalability— delivering a clean, robust, and future-proof foundation for your vision.
We build for tomorrow, not just today. Our development process is powered exclusively by modern, industry-leading technologies.
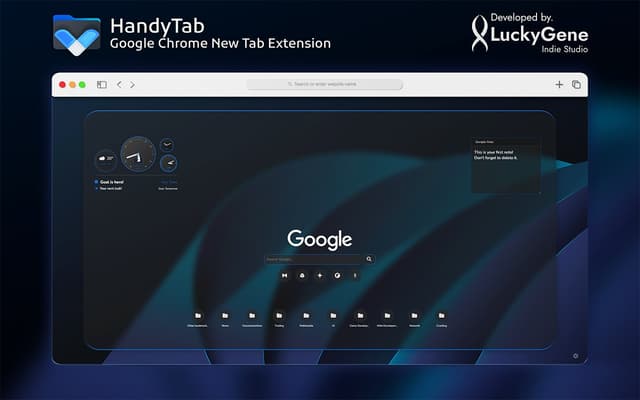
We design and develop bespoke applications for desktop and mobile platforms (iOS & Android), creating intuitive, high-performance tools tailored to your specific operational needs.
Our team builds dynamic web applications and engineers robust, scalable database solutions. We deliver secure, data-driven platforms that power modern business.
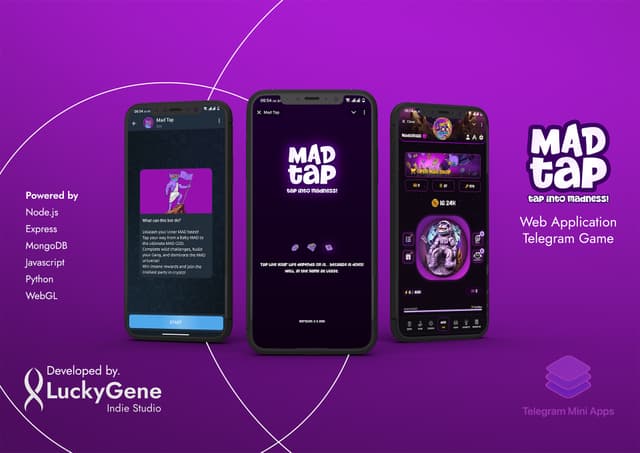
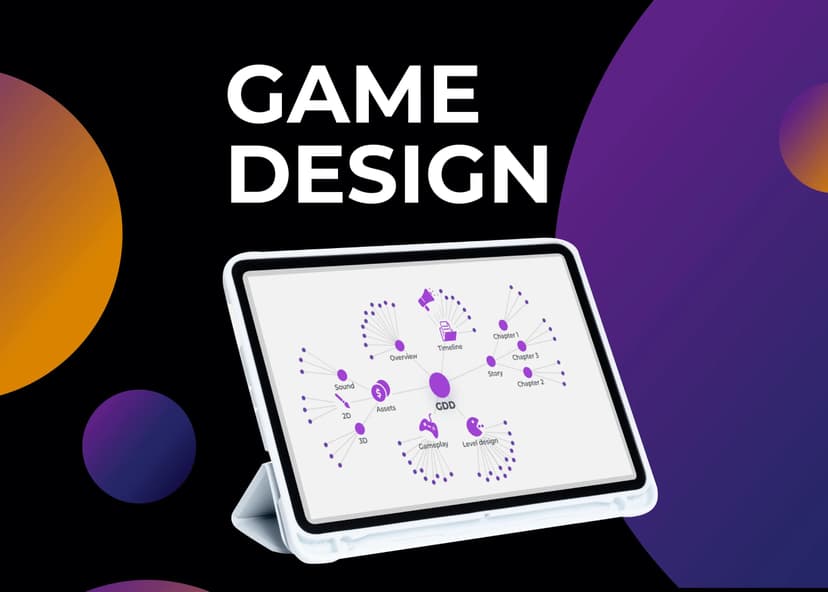
We specialize in the creation of immersive and interactive worlds, focusing on rich narrative design and compelling gameplay mechanics that captivate global audiences.
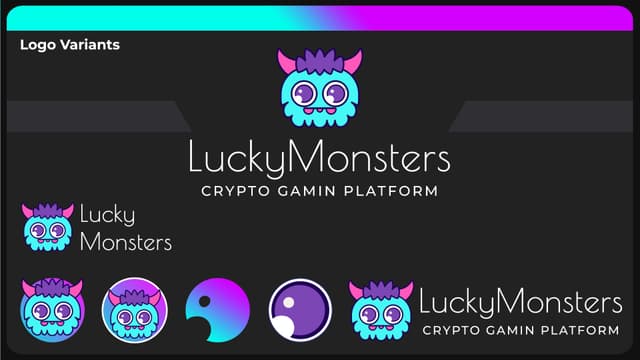
We explore the pioneering potential of decentralized technology, engineering secure and innovative solutions on the blockchain for the future of digital interaction.
We build your complete digital presence, from polished corporate websites and e-commerce stores to custom user management systems.
We manage the complete production lifecycle—from initial concept and scriptwriting through to final post-production—bringing powerful stories to the screen.
We integrate cutting-edge artificial intelligence and machine learning solutions to automate processes, enhance user experiences, and unlock data-driven insights for your business.
We implement comprehensive security frameworks and penetration testing services to protect your digital assets from evolving threats and ensure regulatory compliance.
Explore our diverse collection of projects showcasing innovation across web development, gaming, and blockchain technology.
Explore the art and science of creating compelling game environments that tell stories without words, from level design principles to atmospheric details that captivate players.

Exploring the emerging technologies and frameworks that will define web development in the coming year, from AI integration to edge computing.
Understanding the fundamental principles that make games engaging, memorable, and successful in today's competitive market.
Ready to bring your vision to life? Let's discuss your project and explore how we can help you achieve your goals.
Whether you're looking to develop a cutting-edge web application, create an immersive game, or explore blockchain solutions, we're here to turn your ideas into reality.
